
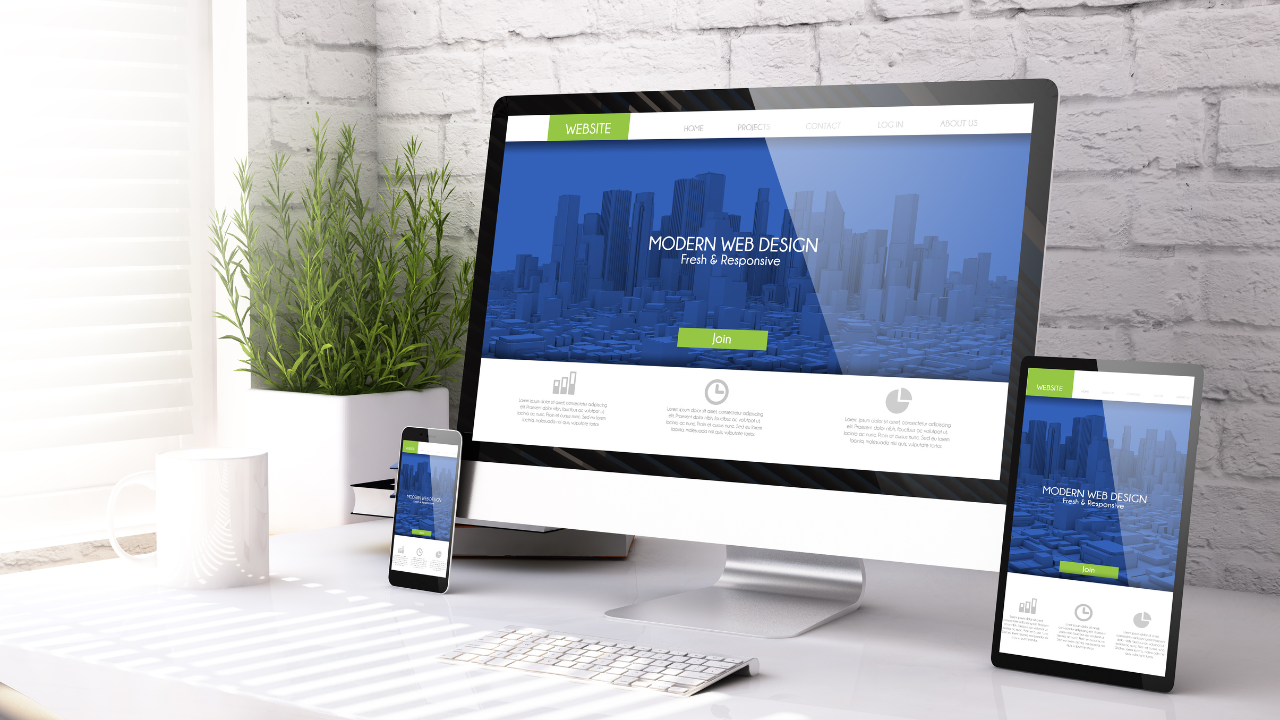
You’ve got the business plan. You’ve got the passion. You’ve even got your first customers lined up. But there’s one thing standing between you and looking like a “real” business – a website. And honestly? It feels like trying to build a house when you’ve barely used a hammer. In this article, I will give you an easy roadmap that will help you launch your website easily.
Here’s the thing about putting off your website – it’s costing you more than you realize. Every day without a proper online presence means potential customers are finding your competitors instead of you. They’re making decisions based on who they can find online, not necessarily who offers the best service.
When you finally decide to tackle the website project without a plan, things get messy. Fast. I’ve seen business owners waste thousands of dollars on designs they end up hating. Others spend months jumping between different platforms, never completing anything. Some end up with websites that look pretty but don’t generate a single lead because they weren’t built with customers in mind.

The worst part? The overwhelming majority of small business websites take 2-3 times longer to launch than originally planned. That’s months of missed opportunities and lost revenue. Not to mention the mental toll of having this unfinished project hanging over your head while you’re trying to run a business.
But it doesn’t have to be this way.
What if you had a step-by-step roadmap that broke the entire website process down into bite-sized pieces? What if you knew exactly what needed to happen, when it needed to happen, and how long each step would take? The relief would be immediate.
That’s exactly what I’ve created – a website timeline specifically designed for small business owners who’ve never built a website before. No tech jargon. No complicated processes. Just clear, simple steps that anyone can follow, even if technology tends to make you break out in a cold sweat.
Let’s dive into exactly how to get your business website up and running without the stress, confusion, or endless delays that plague most first-time website projects.

The biggest mistake small business owners make is jumping straight into picking website colors before they have a solid plan. That’s like choosing curtains before you’ve even decided how many rooms your house will have. The planning phase might not feel as exciting as design, but it saves you from countless headaches down the road.
Start by answering these fundamental questions: What’s the main purpose of your website? Is it to sell products directly? Generate leads? Provide information? Book appointments? Your answer determines everything that follows. For example, an online store needs different features than a simple service business website.
Next, identify exactly who will be visiting your website. Think beyond basic demographics. What problems are they trying to solve? What questions will they have? What might confuse them? Understanding your visitors helps you build a website that speaks directly to them.
Once you know your website’s purpose and audience, make a simple list of the pages you’ll need. Most small business websites include: Home, About, Services/Products, Contact, and possibly a Blog. Don’t overcomplicate this – you can always add more pages later. For now, focus on the essentials that will get you launched.
The final planning step is deciding how you’ll build your website. You have three main options:
DIY with a website builder like Wix, Squarespace, or WordPress
Use a freelancer from platforms like Upwork or Fiverr
Hire a professional web design agency
Your choice depends on your budget, timeline, and how much control you want over the process. Website builders are cheaper but require your time. Agencies deliver professional results but at a higher cost. Freelancers fall somewhere in between. Be honest about your comfort level with technology when making this decision.

Most website delays happen because of missing content. It’s super common for the design to be ready, but the website sits unfinished for weeks (or months!) because the text and images aren’t prepared. Let’s avoid that trap.
Start with your written content. Each page needs clear, simple text that explains what you do and how you help customers. Don’t worry about making it perfect – just get the basic information down. Explain your services or products in plain language, as if you’re talking to a friend who doesn’t know anything about your industry.
For your About page, tell your business story in a way that connects with customers. Why did you start this business? What problem were you trying to solve? People connect with stories more than facts, so focus on the human element.
Next, gather high-quality images. You’ll need photos of your products, your team, and possibly your workspace or completed projects. If you can’t afford professional photography, there are stock photo websites with free or low-cost images you can use. Just make sure they actually represent your business – generic stock photos can make your site feel fake.
Don’t forget to prepare your contact information, business hours, location (if relevant), and social media links. These small details often get overlooked in the content gathering phase, causing last-minute scrambling.
One tip that’s saved countless website projects: Create a simple document with all your content organized by page. This makes it much easier to implement everything when you reach the building phase. If you’re working with a designer or developer, they’ll love you for this level of organization.

Now comes the fun part – deciding how your website will look and function. If you’re using a website builder, this means choosing a template or theme that matches your business style. Don’t get stuck in “analysis paralysis” here – pick something clean and simple that lets your content shine.
Your website’s structure needs to make sense to first-time visitors. Think of it like arranging your store – the most important items should be easy to find. Your navigation menu should use clear labels that everyone understands. Avoid industry jargon or clever names that might confuse people.
When it comes to colors and fonts, less is definitely more. Pick 2-3 colors that match your logo or brand, and stick with them throughout the site. For fonts, choose one for headings and one for body text. Make sure they’re easy to read, especially on mobile phones where most people will see your site.
Speaking of mobile – whatever design you choose must look good on phones. More than half of all website visits happen on mobile devices now. Test how your design looks on different screen sizes before finalizing anything.
Don’t forget about basic accessibility features. Your text should have enough contrast against the background to be readable by people with visual impairments. Images should have alt text descriptions. Links should be obviously clickable. These small details make your website usable by everyone.
By the end of this phase, you should have a clear visual direction for your website and understand how visitors will navigate through it. If you’re working with professionals, you’ll likely approve design mockups during this phase before actual building begins.

With your plan, content, and design decisions in place, it’s time to actually build the website. If you’re doing it yourself with a website builder, this means adding your content to your chosen template and customizing the design elements to match your brand.
Start with the structure – create all the pages you identified in your planning phase. Don’t worry about perfecting each page immediately. It’s better to get the basic framework in place first, then refine each section.
Next, add your content page by page, starting with the most important ones (usually Home and About). Focus on making your information clear and your calls-to-action obvious. What do you want visitors to do on each page? Make that action super easy to take.
If you’re selling products, this phase includes setting up your product catalog and connecting payment processing. If you’re a service business, you might be adding appointment booking features or contact forms. These functional elements often take more time than expected, so be patient.
One commonly overlooked aspect is setting up your domain name and hosting. Your domain is your website address (like mybusiness.com), and hosting is where your website files are stored. If you’re using a website builder like Squarespace or Wix, this is usually handled within their platform. If you’re working with WordPress or a developer, you’ll need to purchase these separately.
By the end of the building phase, you should have a complete but unpolished website. All the pages exist, the functionality works, but you probably still need to make adjustments and improvements before launching.
The difference between an amateur website and a professional one often comes down to thorough testing. This phase is about finding and fixing all the little issues before your customers see them.
First, check every single link on your website to make sure it goes where it should. Broken links make your business look unprofessional and frustrate visitors. This includes navigation menu links, buttons, social media icons, and links within your content.
Next, test all your forms and interactive elements. Submit your contact form and make sure you receive the submission. If you have a shopping cart, add items and go through the checkout process. Try booking an appointment if you offer that feature.
Test your website on different devices and browsers. How does it look on phones, tablets, and computers? Check it in Chrome, Safari, Firefox, and Edge at minimum. You’d be surprised how different your site might appear across these various combinations.
Ask a few trusted friends or family members to visit your website and complete specific tasks, like finding your business hours or submitting a contact form. Watch them without giving hints – this reveals navigation issues you might have missed because you’re too familiar with your own content.
Pay special attention to your website’s loading speed. Slow websites lose visitors quickly. Use tools like Google PageSpeed Insights to identify elements that might be slowing down your site, like oversized images or unnecessary plugins.
Make a list of all the issues you find and work through them methodically. Prioritize fixes that affect functionality over minor visual tweaks. Remember, your website doesn’t need to be absolutely perfect to launch – it just needs to work well and reflect your business accurately.

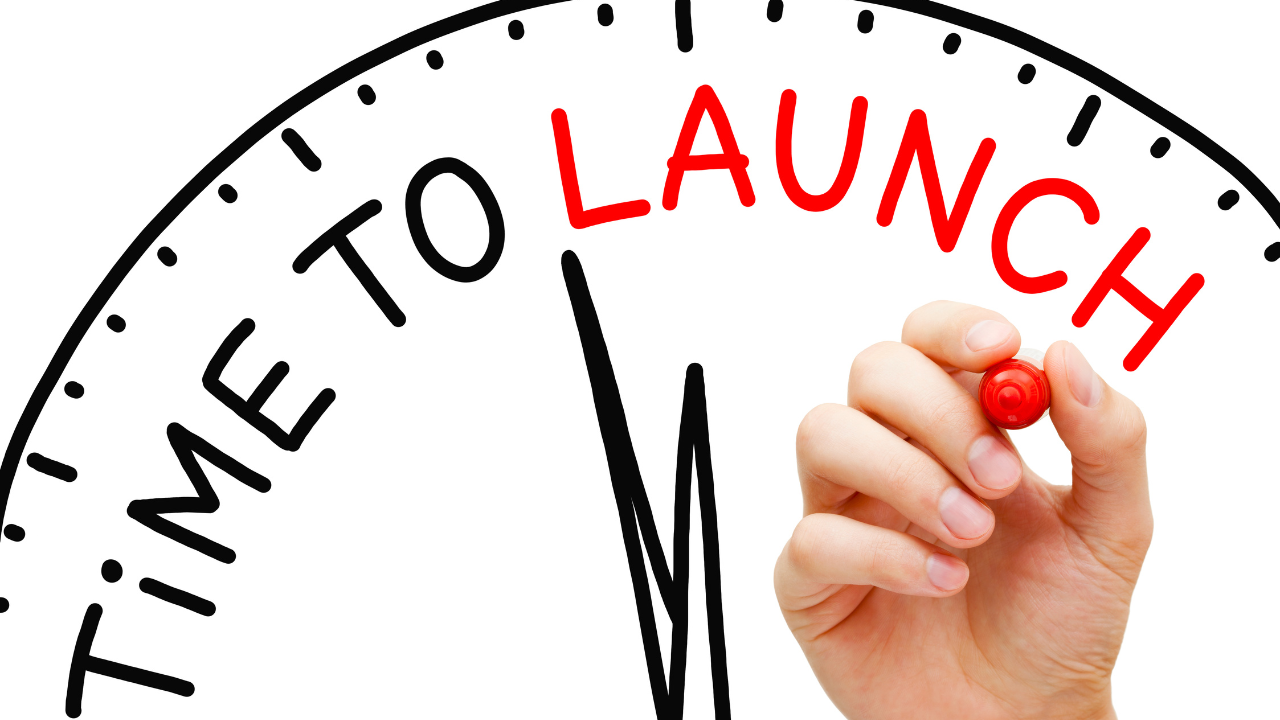
You’ve made it to launch week! Before making your website public, do one final review of all content for spelling errors, outdated information, or placeholder text that never got updated. These small oversights can make even a beautiful website seem unprofessional.
If you haven’t already, connect your website to Google Analytics or a similar tool that will help you understand how visitors use your site. This information is invaluable for making improvements after launch.
For the actual launch, you’ll either publish your site through your website builder’s interface or work with your developer to make the site live. Choose a specific launch date and time when you’ll be available to monitor for any immediate issues.
Don’t just quietly launch your website – announce it to the world! Tell your existing customers through email, social media, and in-person conversations. Consider offering a special “website launch” promotion to drive initial traffic.
Create social media posts that highlight different sections of your new website. For example, one post might showcase your services page, while another draws attention to your about story. This gives you multiple opportunities to share your new site without being repetitive.
If you have a physical location, add signage that directs customers to your new website. Update your business cards, brochures, and email signatures with your website address. Make sure every customer touchpoint mentions your online presence.
Your launch announcement should emphasize the benefits of your website for customers. Instead of just saying “Our new website is live,” try “Now you can book appointments online 24/7 through our new website!” Focus on how it makes their experience better.
Launching your website isn’t the finish line, it’s actually just the beginning. The post-launch phase is about monitoring, maintaining, and continually improving your online presence.
In the first week after launch, check your website daily for any issues or errors that visitors might encounter. Review any form submissions or orders to ensure they’re coming through correctly. Monitor your website’s loading speed and performance, especially during peak traffic times.
Start collecting feedback from actual users. What do they like about the website? What do they find confusing? Their input is very important for future improvements. Consider adding a simple feedback form or just asking customers directly when they mention visiting your site.
Begin planning your website maintenance schedule. At minimum, you should update your content monthly, check for broken links quarterly, and review your entire site semi-annually. Regular maintenance prevents your website from becoming outdated or developing technical problems.
Look at your website analytics to understand visitor behavior. Which pages are most popular? Where do people spend the most time? At what point do they leave? This data helps you refine your website to better serve your customers and achieve your business goals.
Finally, start thinking about phase two of your website development. What features or content would you like to add next? Perhaps a blog, testimonial section, or expanded product catalog? Create a wishlist for future updates based on customer needs and business objectives.
Building a business website doesn’t have to be the overwhelming monster task it’s often made out to be. By breaking it down into these seven manageable phases, you can tackle each step with confidence, knowing exactly what needs to happen and when.
Your business deserves a professional online presence, and you’re absolutely capable of creating one, even if technology isn’t your strong suit. The key is having a clear roadmap and taking consistent action, one step at a time.
What phase of the website process are you currently struggling with? Share your challenges in the comments below, and let’s problem-solve together. Or if you’d like a personalized assessment of your current website situation, sign up for a free 20-minute website strategy call. I’ll help identify your biggest website opportunities and challenges, giving you clarity on your next best steps.
Your business website is waiting to be built. Let’s get started.